
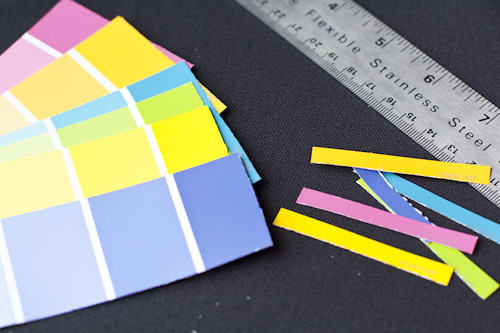
I did I super fun project this weekend that drew its inspiration from all over. It was partially inspired by this “Five Dolla Art” post over on YHL, partially inspired by this Double Rainbow Pancakes post on The Girl Who Ate Everything, partially inspired by this Rainbow… post on Asthetic Outburst, partially inspired by St. Patrick’s Day last week, partially inspired by (slightly) warmer spring weather, partially inspired by an empty 5×7 frame I found lying around my house, and mostly inspired by a handful of colourful paint swatches I randomly picked up a few weeks ago at Canadian Tire (when buying the curtain rod for my closet makeover).
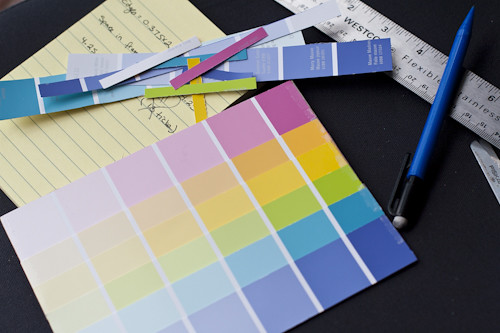
This project cost me $0. If you have an empty 5×7 frame (or an 8×10 frame matted to 5×7) it will cost you $0 too. It is infinitely customizable, and doesn’t take too much time. All you need is a handful of paint swatches in coordinating, contrasting, alternating, rainbow, or whatever sort of combo you are dreaming of colours, an empty 5×7 frame, and some tape. A ruler helps too, but you could eyeball it.

[Aside] I was actually sort of sad to see this mysterious lady in the fram go. The past several years of our lives have gone something like this: Allison decides she needs to get a print for that 5×7 frame. Allison takes the 5×7 frame out of storage and places it on the [shelf/mantle/toilet/dresser], with the mysterious lady still in the frame, as a place keeper. Several weeks go by and Allison does not get a print. The hubs rolls his eyes and makes Al put it away until she actually gets a print printed. A few months go by. Repeat. She’s been a part of my life for so long, I’m going to miss her! [/End Aside]
So, you wanna make rainbow art too? Here’s how!
Step 1: Cut your swatches so they are just a bit shorter than your frame. The edge will be hidden, so you don’t need to get religious about it. Next time I would cut an equal amount off both sides, rather than all off one… you will see why a bit later.
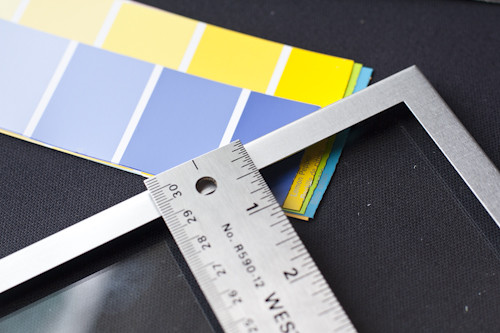
Step 2: Measure how long the edges of your frame are and how long the opening in your frame is.
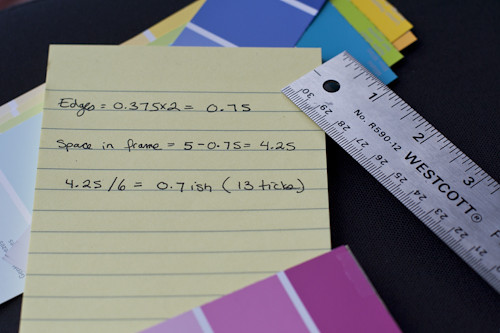
Step 3: Do some math to determine how much space will go between your swatches. If you want it to be symmetrical (and that isn’t the only way to do it) your measurements will be something like this:
Opening/Number of Swatches = Width of middle swatches.
Width of end swatches = Width of middle swatches + Width of lip.
If your ruler is divided into imperial like mine, the the number of ticks in each inch isn’t nicely divisible by 10 (who does that?) figure out how the heck to convert your numbers into “tick marks” on your ruler.
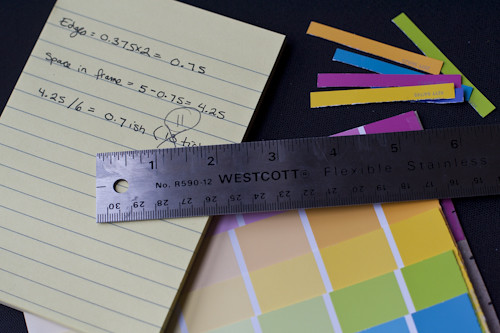
Step 3a: Oops. You counted the number of ticks wrong… count again!
Step 4: Start by taping your first swatch to the backsheet — I used the cardboard that came with the frame. Measure down the appropriate distance (number of tick marks) and then add your next swatch. Tape it on, and repeat. It’s super easy to keep your swatches straight using the handy guidelines on the swatches!

Step 5: Trim your bottom swatches, if necessary. (You will need to trim the bottom two swatches if you use 6 swatches, like I did).


Step 6: Finish your adding and taping and admire your handiwork.
Step 7: Place in frame and admire your handiwork again. See how it would have been a little bit better if I took an even amount off the top and the bottom? Or even took it all off the top?

Step 8: This is the hardest step… Find a place for your cute new art to live. I first tried the bedroom…
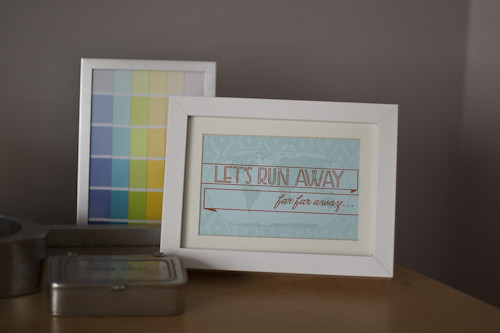
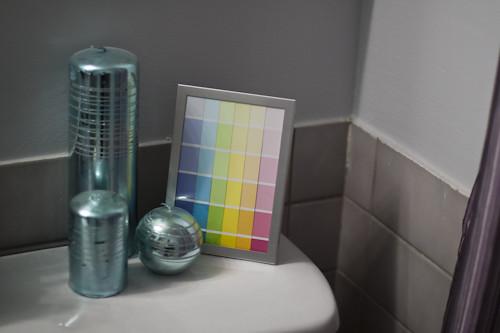
But that didn’t quite work for me, due to the red in the “Let’s Run Away” print (that is actually a super cute postcard from Etsy) so I moved it to the bathroom.
Do you have any super easy free (or super cheap) diy crafts to share? I love getting something awesome out of almost nothing!
I like this. I also love the post card idea. That’s what I can do with this pile of travel postcards that I have. Neato! Thanks for the idea.
That’s such a good idea! After seeing how cute this one was, I decided I’m going to start collecting postcards from all the places I go – one from each – and make a crazy gallery wall with them, one day!
One project on the horizon is my beer label thing (what the thing is is still TBD). On our last RTW, I collected beer labels from almost every country we visited… the plan is to mod podge them to something!
Hello,
I am very appreciative of this fine piece of art that now graces our washroom. Each morning when I comb my hair, I look at it and it inspires me to become a better person.
-Hubster
p.s. Allison is sitting beside me right now.