Remember about 6 weeks ago I told you about my new film camera? The Nikon FM, a fully manual camera. This camera is not only manual exposure, but manual focus. I know that I’m comfortable shooting manual exposure, because I shoot almost entirely in manual during photoshoots and at weddings. One of the really cool
Month: October 2011

It started getting colder a few weeks ago. Turning into fall. The season where I start looking to hearty or creamy delicious soups to warm me up from the inside out. This Creamy Roasted Tomato, Garlic, Onion and Coconut Soup from Oh She Glows did not disappoint. This soup is delicious. It’s creamy (without using
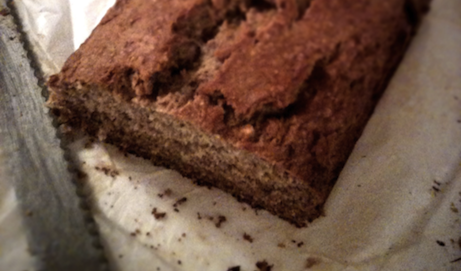
On Sunday afternoon, I noticed that three bananas were getting a touch overripe on my counter. Usually I deal with overripe bananas by peeling them and tossing a ziplock in the freezer for future smoothies. However, over the period of the juice obsession (more on that fizzled obsession to come) my freezer got inundated with
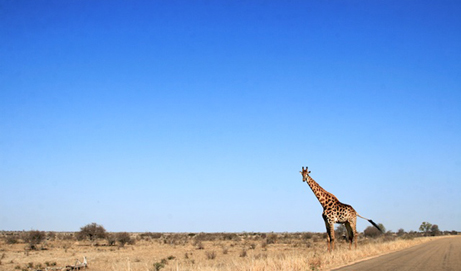
This picture was taken on August 23, 2008 on our self-drive safari through Kruger National Park, South Africa. I’ve been thinking about sharing this photo since they went to South Africa on the Bachelor way back in February. But then I forgot. You know what they say, time flies when you are having fun. If you

This photo was taken on March 10, 2009 at the end of a grueling four-day hike along the Inca Trail to Machu Picchu, Peru. Despite the rainy season, we were very lucky to have an almost rain-free four-day hike as well as a rain-free day at Machu Picchu. This was one of the few super

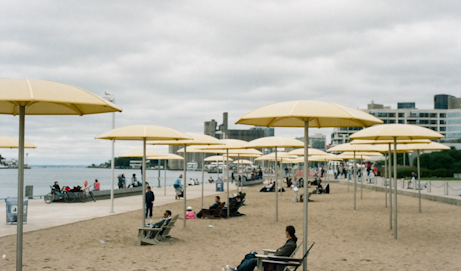
We spent Canadian thanksgiving in Fredericton with my in-laws (the hubs’ mom & dad, his two sisters, and our nieces and nephew). (Actually, the previous weekend we spent in New York with some of the same people, however, my images from that weekend were all b&w film and I haven’t got them developed yet!). We

Remember when I told you I was in Canmore for one of my best friends’ weddings? Well. It was amazing. Seriously amazing. It also resulted in a super fun animated GIF for your viewing pleasure! Happy Sunday Friends!
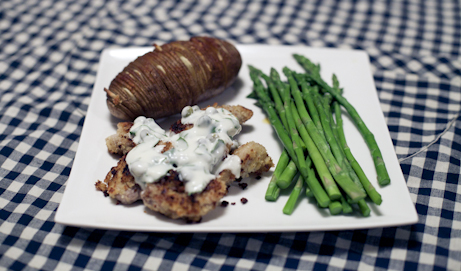
I’ve been busy traveling every weekend (since September 10) so I’ve had lots of trouble cooking new recipes to post on the blog (for my 30-before-30 list). I realized today that I’m already one weekly meal behind (eek!) so I decided to pull a good, old, un-posted one up from my drafts folder! Hasselback Potatoes.
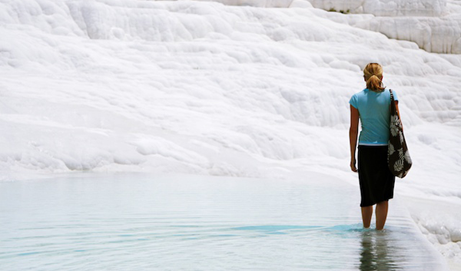
This photo was taken on June 13, 2008 at Pamukkale in Turkey. This was actually the second time I’ve been to Pamukkale. The first time was with my mom, my dad and brother way back, 14 years ago back, in July of 1997. [EDIT: If you came across this post on Tuesday and were wondering

Last night I went to bed sad. The world lost a visionary. A do-er. A creative genius. All too soon. We found out while we were out having a fun dinner at Guu to celebrate my 29th birthday; I slipped away to the restroom and my husband checked his iPhone. An email from his dad

Whoa, I’m writing this after I finished the rest of the post. Get ready folks – this is a long one! But an exciting one too! And it is full of lists. You know how I feel about lists! I turn 29 today. I can’t really believe it. I seems like just yesterday I was