Last June (…the 2011 June…) I posted about my very first Pinterest inspired craft: coasters! That was just a sneak peak and I promised I’d put a tutorial up soon. Unfortunately, in some France-induced excitement last summer, I deleted my memory card and lost all the step-by-step images. But, never fear… yesterday I undertook project “Coasters Take II”. This time I downloaded my images before I had the chance to delete them. This time I also, somewhat appropriately, used beer labels from our around the world beer label collection!
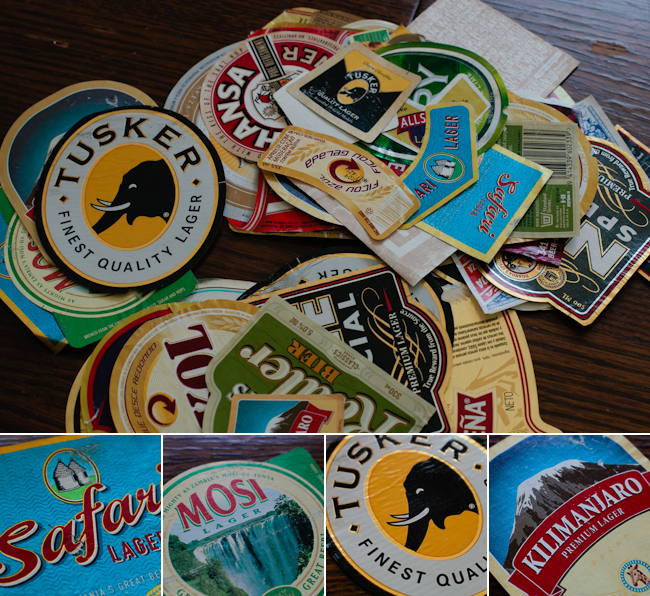
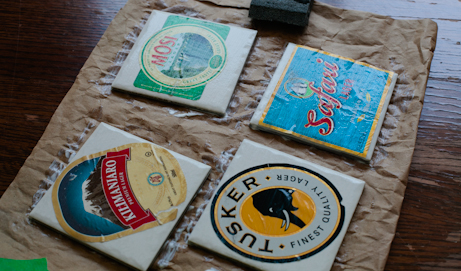
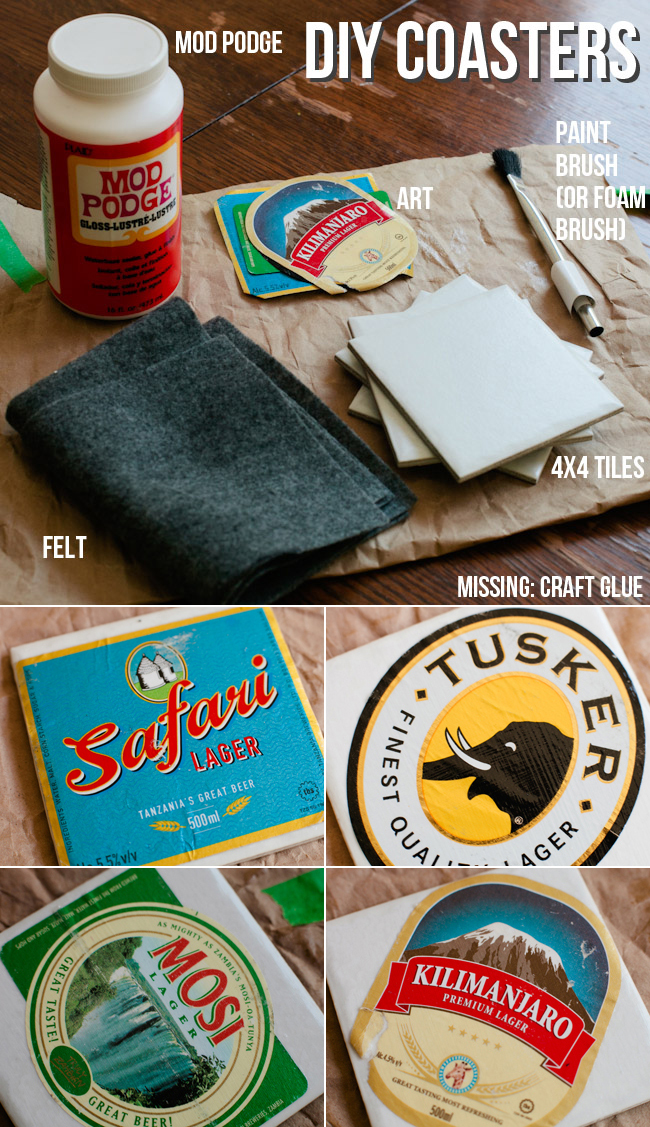
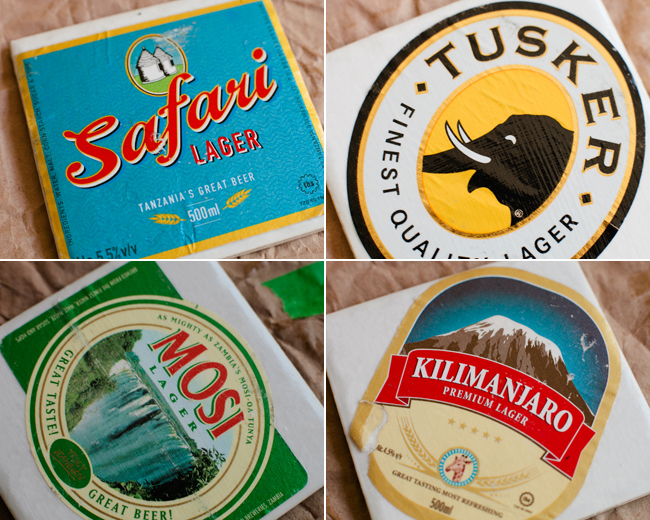
The bottom four images are the labels I selected for this project. I love the colour and style of the African beer labels! I selected: Safari Beer (Tanzania), Mosi Beer (Zambia), Tusker Beer (Kenya) and Kilimanjaro Beer (also Tanzania).
And it’s easy! All you need is 4×4 ceramic tiles from your local hardware store, Mod Podge (or DIY Mod Podge), a paint brush or foam brush, art for your coasters (pictures, beer labels, leafs, whatever you dream up), felt and craft glue. Polyurathane or Polycrylic is optional!
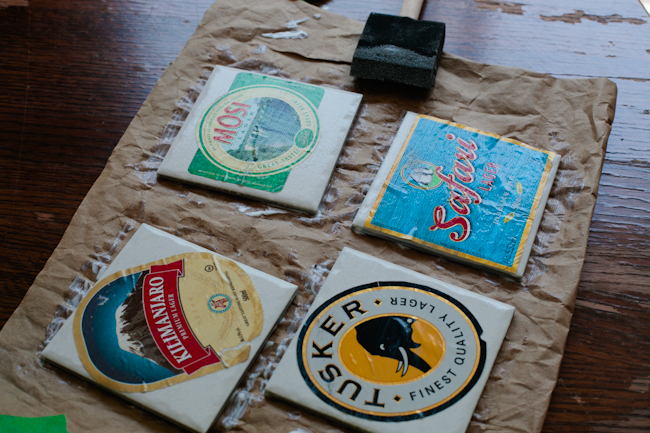
Step 1: Paint the tile with a thin layer of Mod Podge, place your art in the desired location then cover with a second thin layer of Mod Podge. Let dry for 15-20 minutes.
Step 2: Apply a second (and third, and fourth, and fifth) thin coat of Mod Podge to the tile.
Step 3: (optional): Apply 1-2 coats of a poly finish (I find this helps the coasters be less sticky).
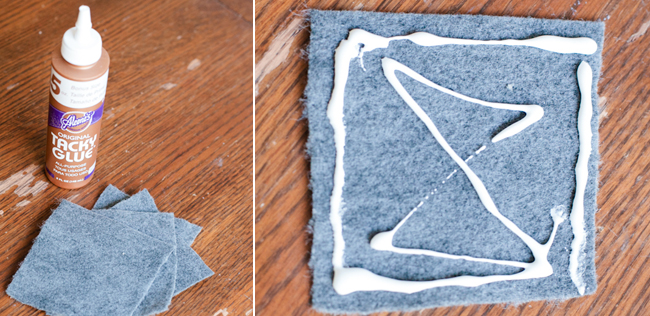
Step 4: Once final coat (of either mod podge or poly) is dry, cut out 3.5″x3.5″ squares of felt, apply craft glue (I prefer the box + x method) and glue to the bottom of the ceramic tiles.
Step 5: Enjoy your newly made coasters! Easy-peasy.
Great idea I have a few different ideas myself pics, fabrics, foliage, etc.. (So many coasters so little cups lol) … Anyway I’d like to lables as well but how did you get them off without totally damaging them??? Any input is appreciated
Thanks
Bruno
To be honest… all of these came from super hot countries where the cold beers start sweating the moment they get to your table. I waited until the beer was mostly finished to slowly peel them off. Most peeled off well on the first try, but if they ripped my (not so terribly) option was to order another beer!
If you don’t have hot hot weather and you don’t want to turn your thermostat us to 35C inside, I’d suggest putting the beers in a tub of hot water and being patient!
Tiny rips (that don’t tear off a chunk) can be camouflaged on coasters!
Good luck!